10/3/2014, morning
NAME: Rozemarijn Landsman & Jonah RowenDATE AND TIME: 10/3/2014, 9:00-11:00
LOCATION: Morningside Heights
SUBJECT: Bread Molding Reconstruction - Casting Two-Part Mold
Using two-part mold, we cut a somewhat larger gate in the place in which we started cutting the previous day. After some deliberation about what material to use for our cast, and having seen other results, we decided that the best detail and release we could get was in sulfur. We considered doing a wax-sulfur mixture, but that did not mix well; as well as sulfur mixed with charcoal, as is suggested in some of the recipes, but we did not have charcoal currently available. Our main purpose in this experiment was less to experiment with casting materials than to attempt a two-part mold.
The mold did not look like it would sustain the level of detail of the original pattern. In addition to being moldy, the two parts had cracked and warped, so we taped the two parts together for extra pressure to prevent leakage, although we are not sure if that had any effect.
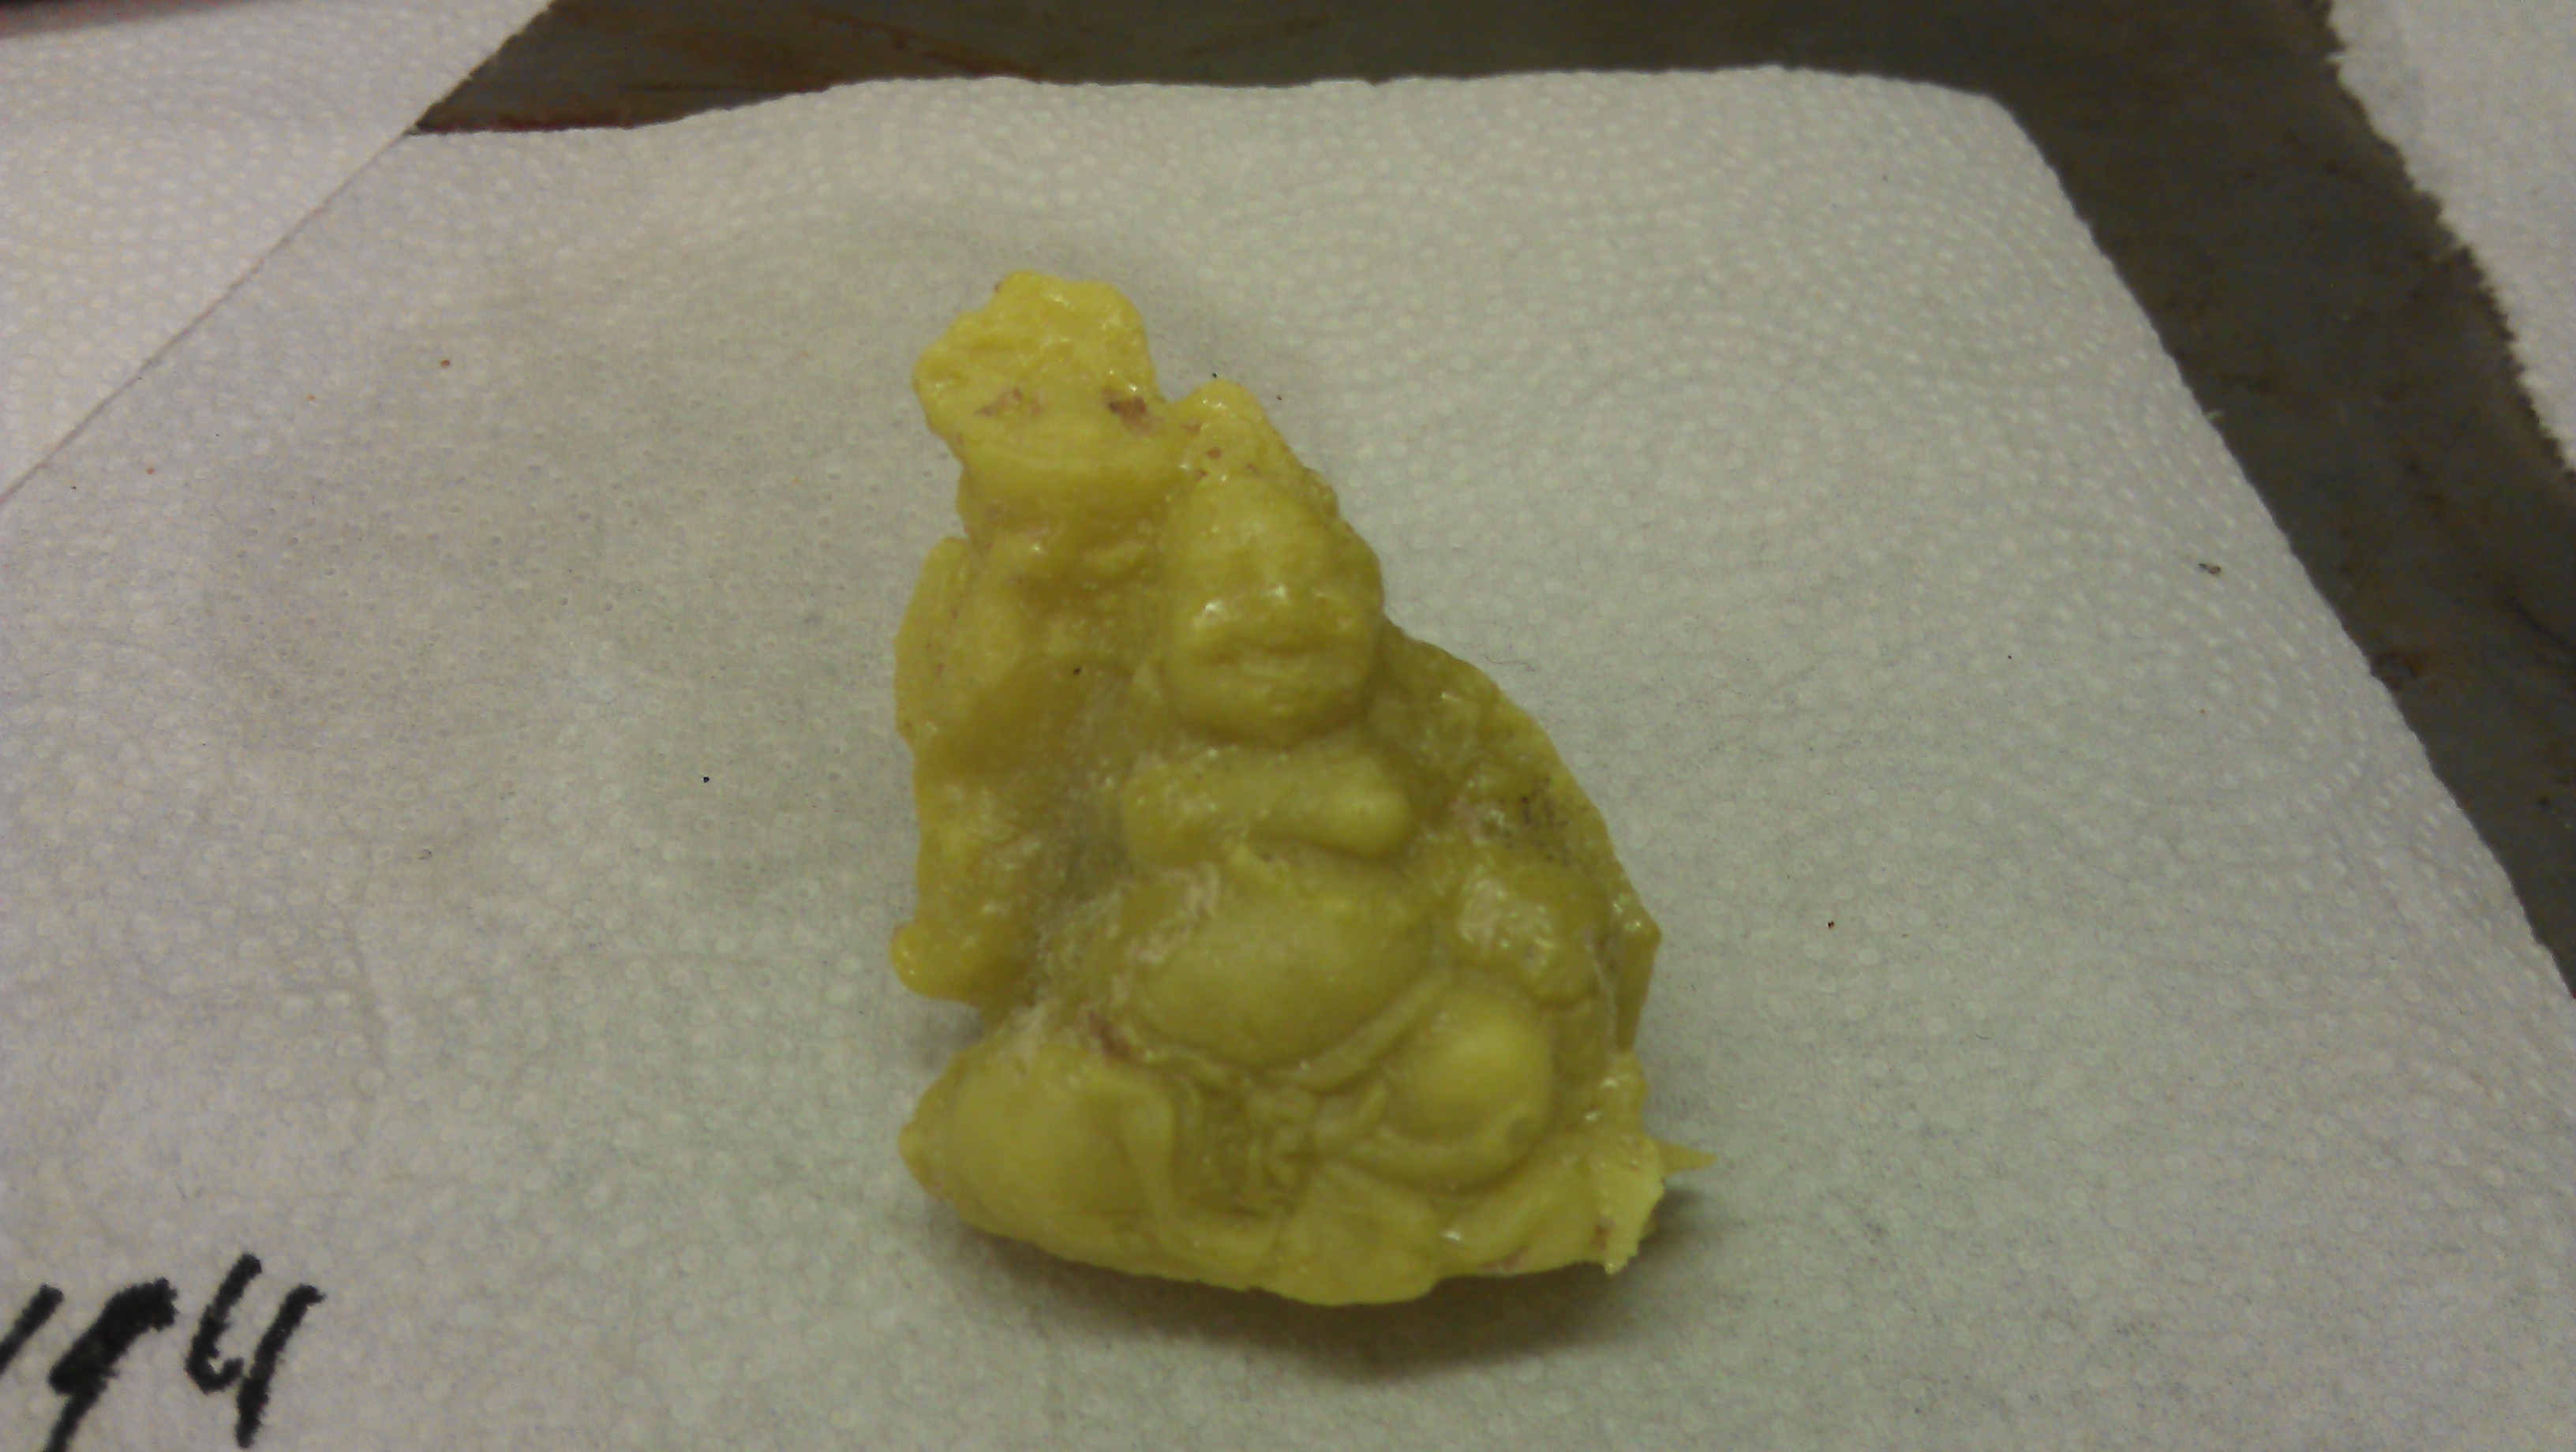
Propping the two-part mold on a paper cup in the fume hood with the hole facing upwards, Joel Klein melted sulfur and then poured the molten sulfur into the mold. The original amount of sulfur that we prepared did not fill the mold in its entirety, so we had to melt some more. Upon first observation, this break in pouring was not visible in the final product.
After about half an hour, Joel broke away the bread from the solidified sulfur. The result was far more detailed than we expected.
10/1/2014, evening
NAME: Rozemarijn Landsman & Jonah RowenDATE AND TIME: 10/1/2014, 4:30 - 6:00
LOCATION: Morningside Heights
SUBJECT: Bread Molding Reconstruction - Casting Two-Part Mold
Rye bread, dark in color, with pith pressed around small Buddha figurine in two parts. In order to register the two parts' placement with respect to one another, we stuck two yellow lead pencils through both halves of the mold. By this time the mold was moldy on one side (the side it had been lying on). We met to carve out a gate in which to pour material in a place in the bread mold that had already had a small crack at the foot of the figurine, near the base. We placed the mold in a refrigerator to prevent further molding for the next day and a half.
Table of Contents
9/29/2014, evening
I. The first experiment with soaking our bread mold in order to take out the wax model resulted in a somewhat satisfactory result. We let it sit in the water overnight -- in the morning the bread broke away relatively easily, but there did seem to be a risk of cracking or changing the shape of the wax - especially the thinner parts (the outer edges). Some small dough-parts are still stuck on to the wax model. The details of the original object used to mold have kept their shape relatively well - at least in those parts that were molded properly (as mentioned before this was not our best mold).From left to right:
- the soaked bread mold broken away
- the (imperfect) wax model when still wet
- the wax model once dry - the white traces of bread visible
 |
| wax1_mold broken.jpeg |
 |
| wax1_wet.jpg |
 |
| wax1_dry.jpg |
II. With the second, the better mold, we decided to use the soaking-method again, but this time for a longer period of time - in order to see whether the bread would come off more easily, and more completely. This time we soaked it for over 24 hours - until the bread had already seemed to let loose for the largest part (see images). The method seems to have worked. The imprint of the object is rendered beautifully on both the bread mold and the wax. Small pieces of dough, however, still are stuck to the wax, so we put the wax model back into a bowl of water to see whether these parts will come off themselves.
Top left: Mold and wax soaking
Top right: Mold and wax after 24 hours of soaking
Bottom: Mold broken away - imprint clearly visible
 |
| wax2_soaking.jpg |
 |
| wax2_soaking_24h.jpeg |
 |
| wax2_mold broken.jpeg |
Recommendations/Questions for future use of the bread molding method:
- Use one large piece of hot bread 'pith' in order to prevent cracks and holes
- Would it prevent the dough from sticking to the wax when the bread mold is oiled/greased slightly before pouring the wax in?
- The holes/cracks in our mold resulted in some wax seeping away - which caused some very shallow and thus fragile parts of the wax model
9/26/2014, evening
Our aim tonight is to take the casted bees wax out of the bread molds. We have two filled molds.1. The wax has hardened all day after casting in class this morning
2. We soaked mold nr. 1 (which was cast secondly) to see how the mold and the wax would respond to the water.
After 5 min. soaking most of the bread was still like a rock - only the outside of it seems to start to dissolve a little - and trying to take it off the beeswax seems to cause the wax to break
3. After 10 min. - bread is getting softer, but it will probably take a long time, so we decided to leave it overnight and look tomorrow morning
18 September 2014: Baking Bread, Molding
NAME: Rozemarijn Landsman & Jonah RowenDATE AND TIME: 9/18/2014, 12:00 - 8:30
LOCATION: Morningside Heights
SUBJECT: Bread Molding Reconstruction - Baking Bread & Casting Molds
Start with sourdough starter & rye starter - difficult to find modern recipes that don't include dry yeast
Starters look foamy, rye started is noticeably darker than regular sourdough starter; smell very sour
Plan to use two recipes, make four molds, experiment with molding top and bottom of objects
From http://britishfood.about.com/od/azrecipeindex/r/How-To-Make-A-Rye-Sourdough-Loaf.htm
225g / 8 oz strong, white, bread flour
225g / 8 oz rye flour
9g / 1/3 oz salt
285g/ 10 oz sourdough starter
Warm water to mix
Olive oil
Place both flours into a large baking bowl, add the salt and mix together. Make a large well in the centre and add the starter dough. Using a fork, draw the flour into the centre and mix lightly. Then (I like to use my hands) mix the starter and flour and water a little at a time together to create a sticky dough.
Either knead the bread in a mixer with a dough hook, or, tip the dough onto a lightly floured work top and knead until you have a smooth, elastic dough. If the dough is dry, add more water, too wet and you will need to sprinkle with a little flour. This will take about 10 minutes in the machine, 12 – 15 by hand.
Once the dough is ready, lightly oil a mixing bowl with a little olive oil. Tip the dough into the bowl, cover with cling film / saran wrap and put the bowl in a cool, not cold and draught-free place. Leave for up to 6 hours or, until the dough has doubled in size. If you want, leave it overnight the dough must be in a colder space allowing the bread to rise very slowly.
Tip the dough onto a lightly floured surface and knock out the air from the bread. Lightly knead the dough for a few minutes then roll the dough into a ball, dust lightly with flour and place into either a floured banneton or a mixing bowl lined with a floured tea towel. Cover the bowl or banneton with plastic and place into a cool, not cold place as before and leave to rise slowly for 8 hours.
Heat the oven to 220°C/ 475 °F /gas 6. Place an ovenproof bowl half filled with boiling water on the lowest shelf of the oven. The steam given off from the water helps to create a lovely crust to your loaf.
Line a baking sheet with lightly oiled greaseproof paper. Tip the loaf from the banneton or bowl the risen loaf onto the sheet (do not worry if you loose a little air from the loaf as you do this, it will come back in the oven). Place the tray and loaf in the middle of the preheated oven and cook for 30 minutes, then lower the temperature to 200 °C/ 400 °F/gas 6 and cook for a further 20 minutes or until the loaf is golden brown, the outside crust crisp and the bread sounds hollow when tapped on the base.
Place the loaf on a cooling rack, and leave to cool completely before eating. Rye sourdough can be used as any other bread and of course is delicious freshly made and spread with butter.
Lady Arundel’s Manchet, from http://historyofbread.wordpress.com/2012/08/31/lady-of-arundels-manchet/
450gr strong white flour
1 egg, beaten
25gr unsalted butter, softened
Pinch salt
40gr sourdough starter/5gr of dried yeast (mixed up with the warm milk and 100gr of the flour into a ferment, or add straight to dough)
300ml warm milk
Combine the first five ingredients thoroughly and knead for ten minutes until a good dough, fairly slack, this needs to be a soft, pudding type bread although definitely not a cake. Let rise for half an hour (or for a better, if less accurate, bake – around two hours) and bake in a greased tin for around 45 mins at 180C or until brown and crusty all over.
Platt mentions using manchet, which uses more luxurious ingredients (egg, butter, milk - dairy)
Because the manchet is only supposed to rise for half an hour (according to the recipe cited on the website above), we will make dough for rye bread first and let rise, and then later come back to the manchet toward the end of the four hours of rising, make manchet dough and let rise for half an hour
Accuracy to historical recipes for bread may be superfluous; we don’t know what kind of bread is being referred to in recipes, or whether bread for casting includes all ingredients that bread for eating would; is salt necessary? If salt is just included for taste, would it have been baked into bread used for casting?
Discussed questions having to do with procedures of baking, letting dough rise and molding; in particular, when bread comes out of oven, how do we mold pith, and into what shape? How soon after bread comes out of the oven do we need to mold objects? Do we bake again with objects inside of mold? Do we try to stretch mold, as manuscript p. 140v suggests? (“Mold it with the pith of the bread just out of the oven, or like that aforementioned, & and in drying out it will diminish & by consequence so too the medal that you have cast. You can, in this way, in lengthening out or enlarging the imprinted bread, vary the figure & from one face make several quite different ones.”)
Will be interesting to compare sizes of cast objects with size of patterns - especially more round/three-dimensional objects. How large can the object be in different dimensions? Two of the objects we intend to cast (medallion & bottle opener) are very flat, and third (Buddha figurine) is more round. Will the one with more depth cast well? Will wax or other casting material be able to work its way into the entire mold?
Following recipes for bread somewhat loosely, using ingredients and following instructions as accurately as possible

12:30 - measured out ingredients; instead of white bread flour (which we don’t have), we are using unbleached white whole wheat flour, sifted, combined with rye flour and salt
Amount of rye flour starter we had is slightly less than recipe calls for; 240g (not 285g)

amount of water isn’t specified - we are estimating, in order to try to get a good “sticky” consistency
12:44 - kneading; dough looks good, well-mixed, light brown with darker specks
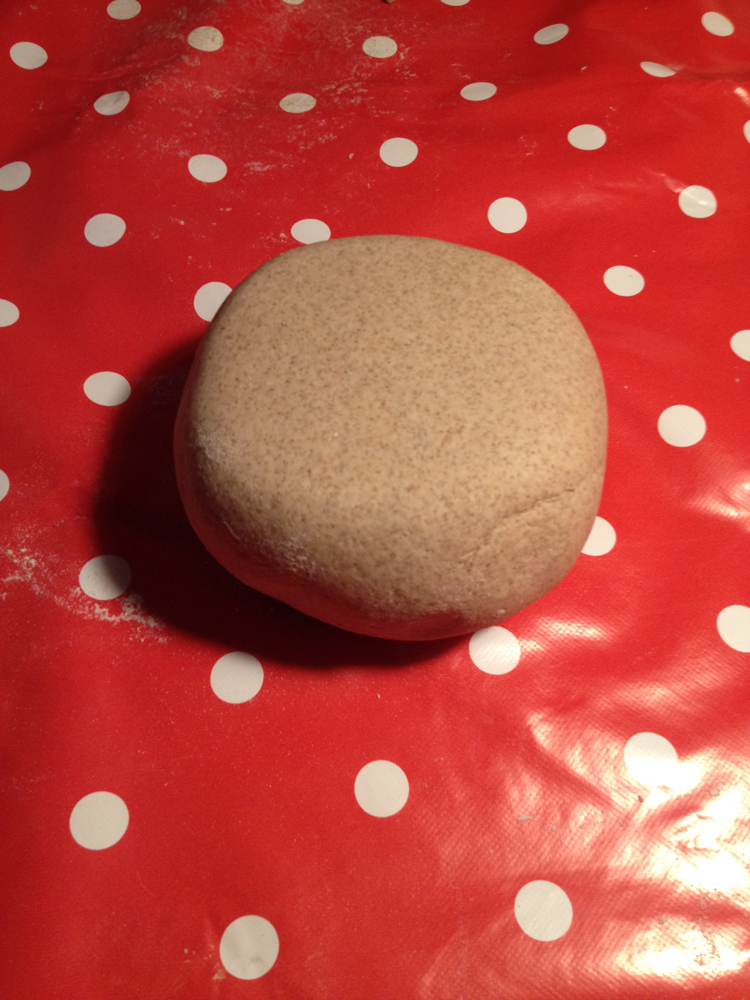

Presumption: better to knead for too long rather than for not enough time
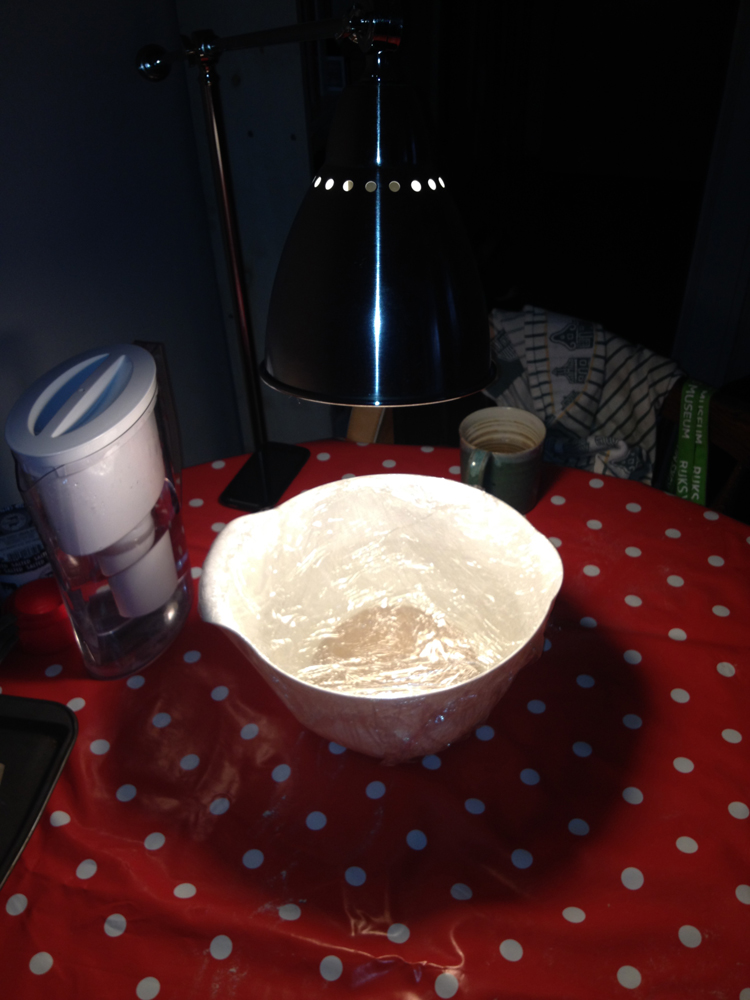
1:05 - We let dough rise for six hours (~1pm-7pm), which is not full amount of time specified in recipe; we assume that this will result in thicker, denser bread; since we don’t have the full amount of time to let dough rise (recipe says 6 hours, then to knead, then another 8 hours, all in a cool place) we placed the dough in mixing bowl covered with saran wrap under a lamp with an incandescent bulb
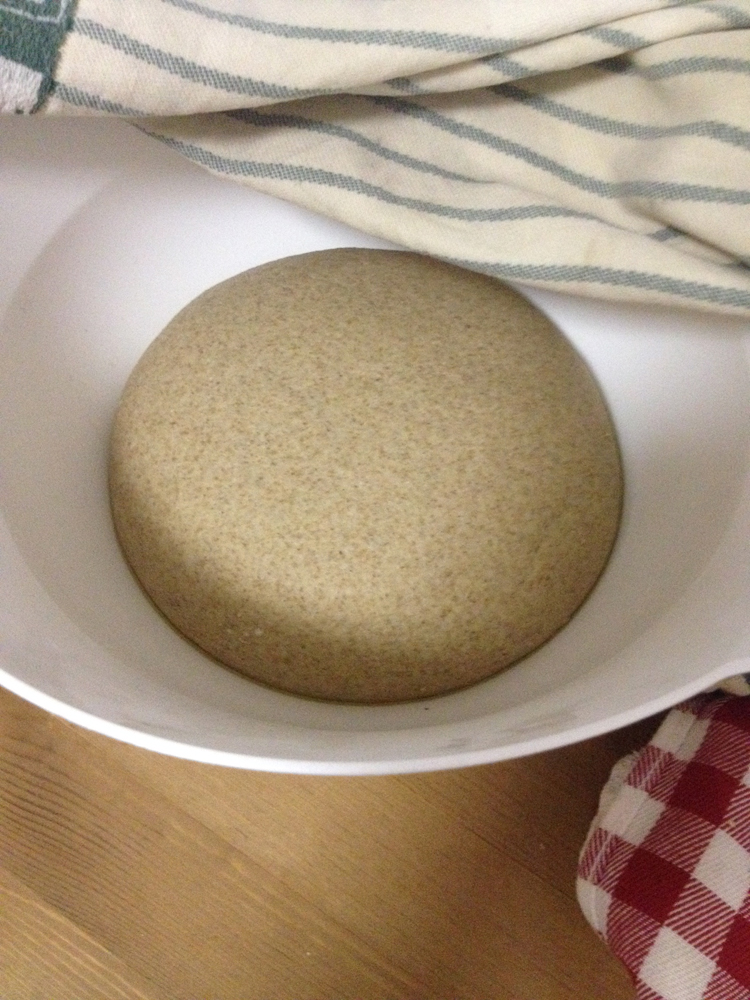
5:00 - rye dough didn’t rise as much as we thought it would; flattened a bit - not quite double, but larger
5:30 - start to mix ingredients for manchet dough; halved recipe
Recipe calls for “warm” milk; transcribed modern recipe doesn’t include directions for milk, but original recipe says to mix first five ingredients then to “temper” with milk
We don’t have unsalted butter, so we will use salted butter but won’t add salt as called for in recipe (“pinch of salt” in modern recipe; “as much Salt and Barme after the ordinary Manchet” in seventeenth century recipe)
Half egg, beaten; 20 grams of starter, mixed with milk; starter is very viscous
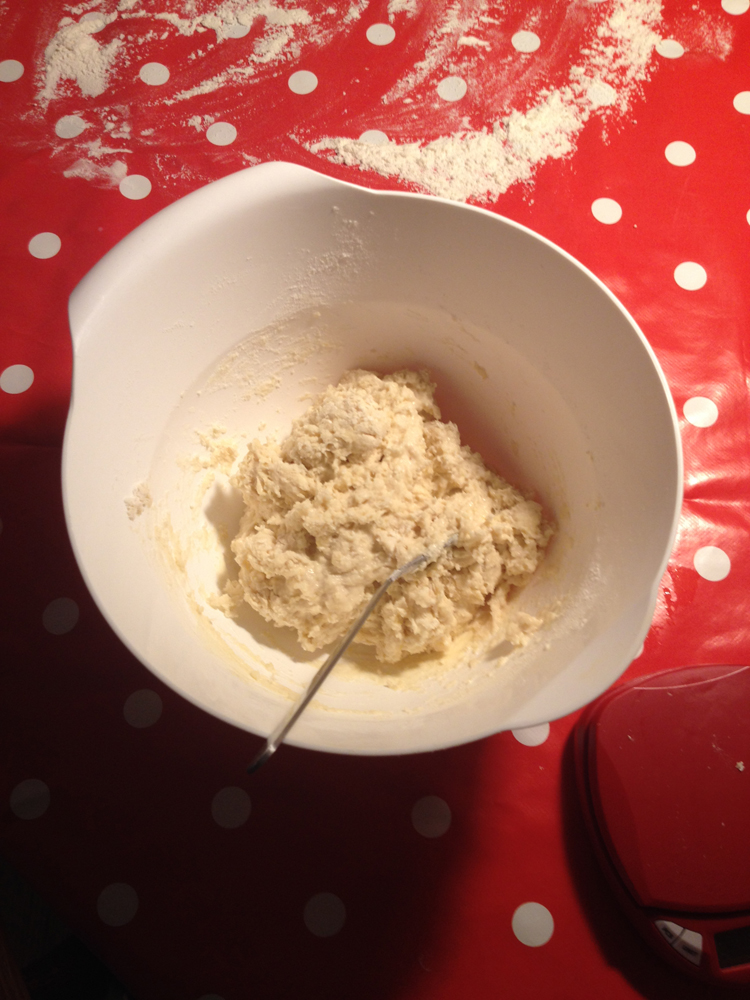
5:48 - Similar in consistency to rye dough - doesn’t come together immediately as dough, still very crumbly
5:51 - Taken out of bowl, very sticky; dough is coming together; after two minutes kneading, dough looks very plausibly like bread dough
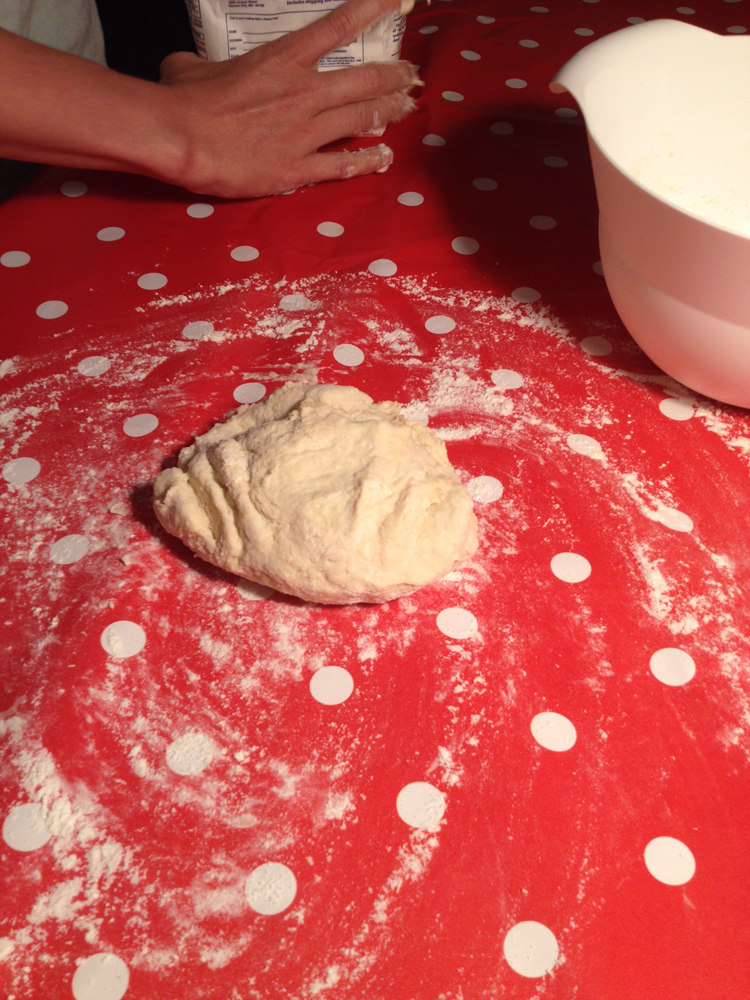
6:01 - Dough looks very uniform, tan-ish color
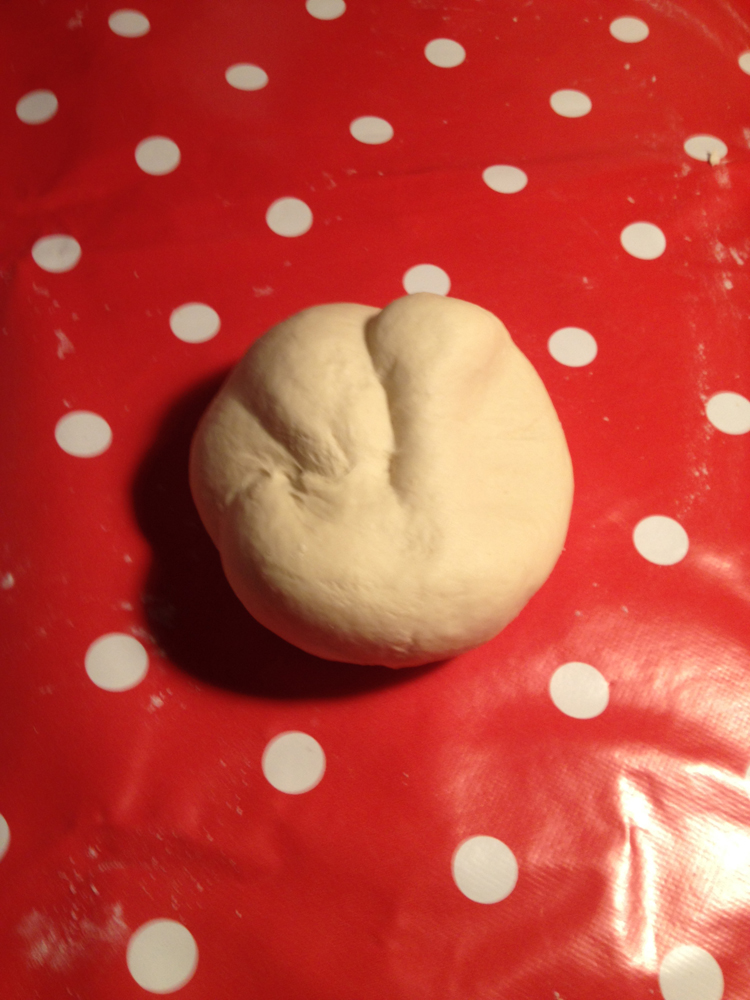
Let dough rise for an hour (recipe says half hour)
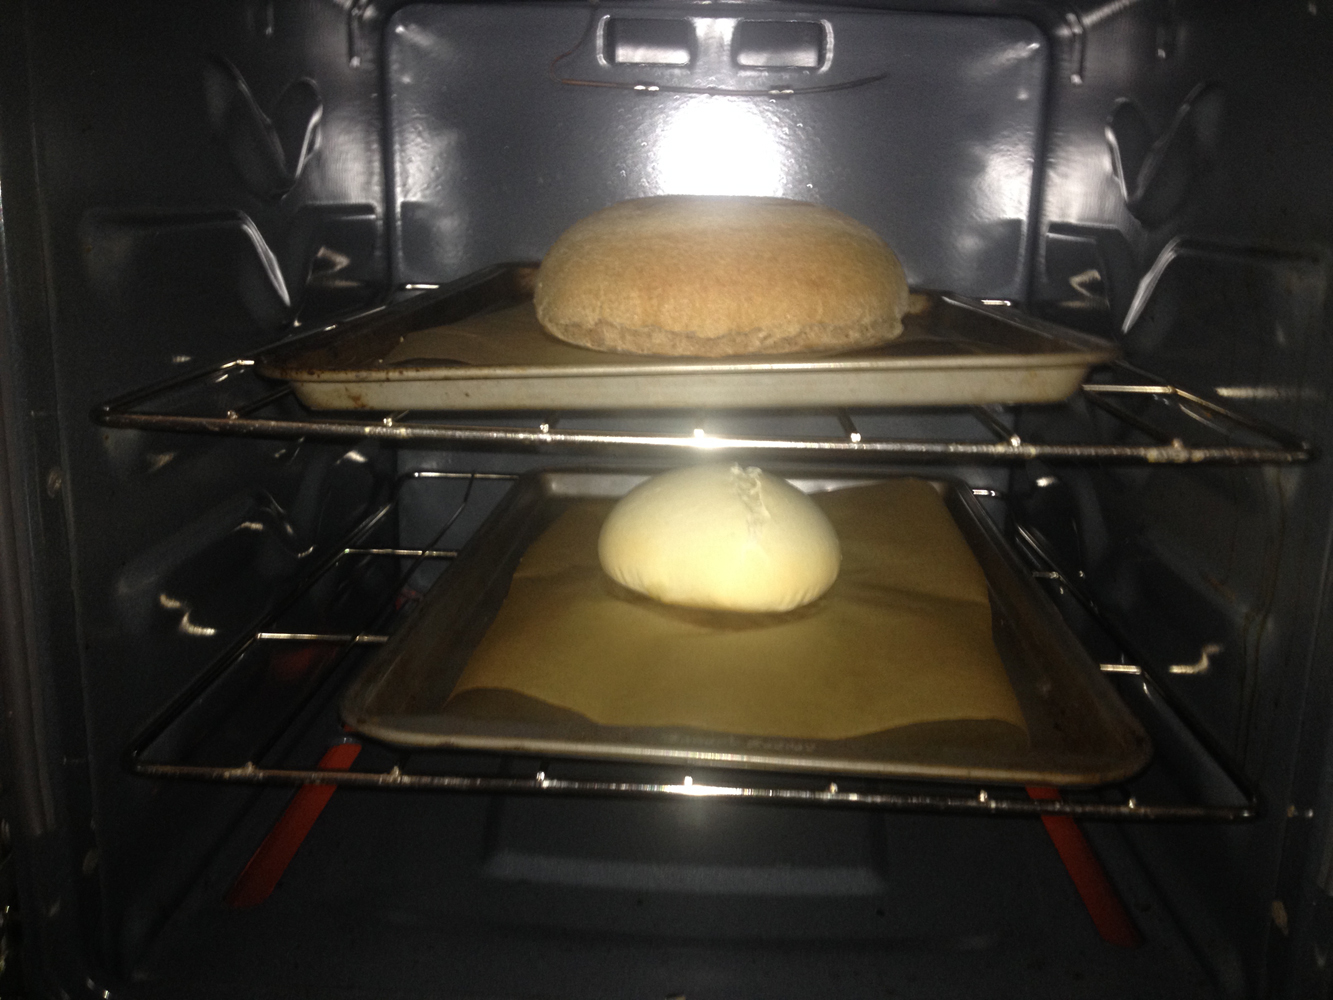
8:09 - Removed rye bread from oven
8:11 - Removed manchet bread from oven
Rye bread tastes very good; manchet bread is quite bland
Manchet bread didn’t rise as much in the oven as we thought it would; pith still seemed very doughy, perhaps undercooked
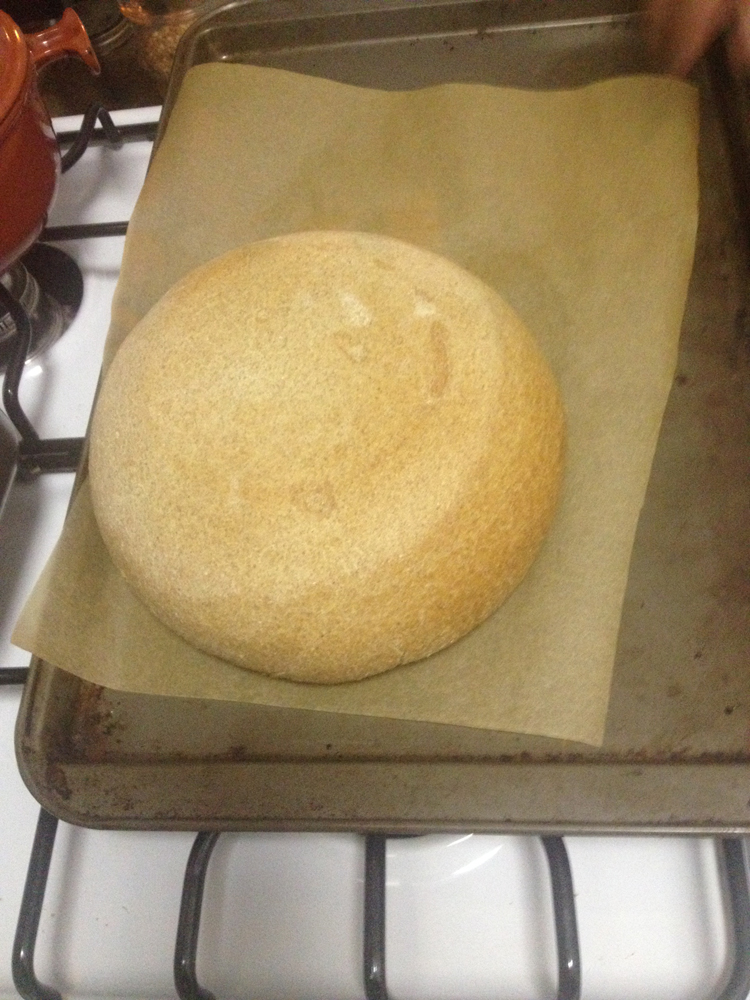
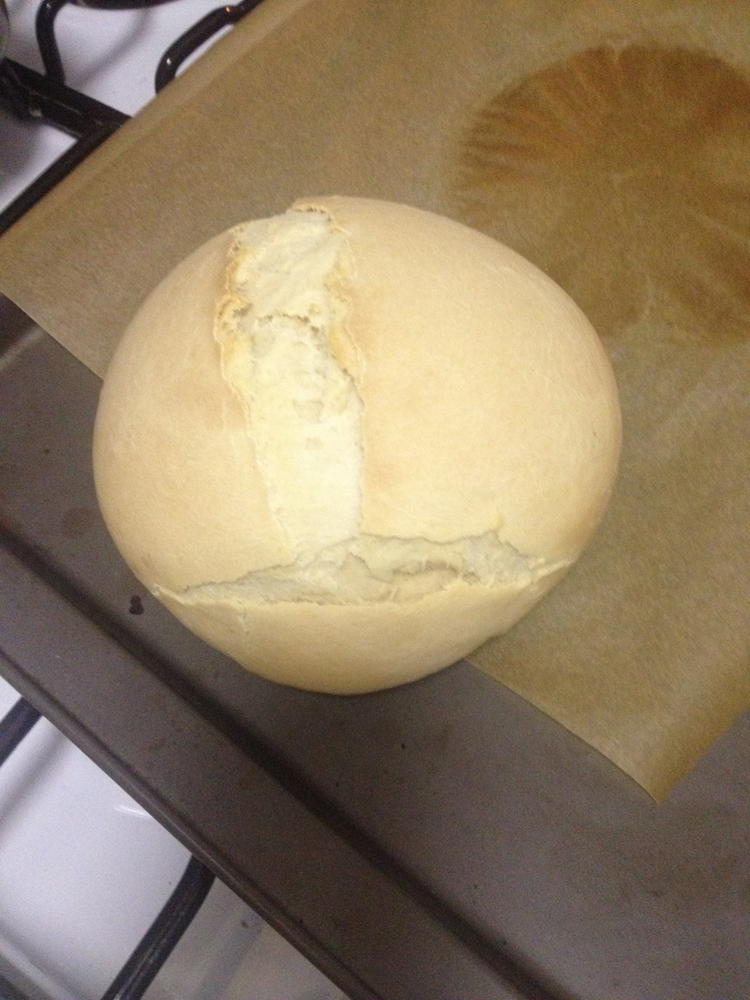
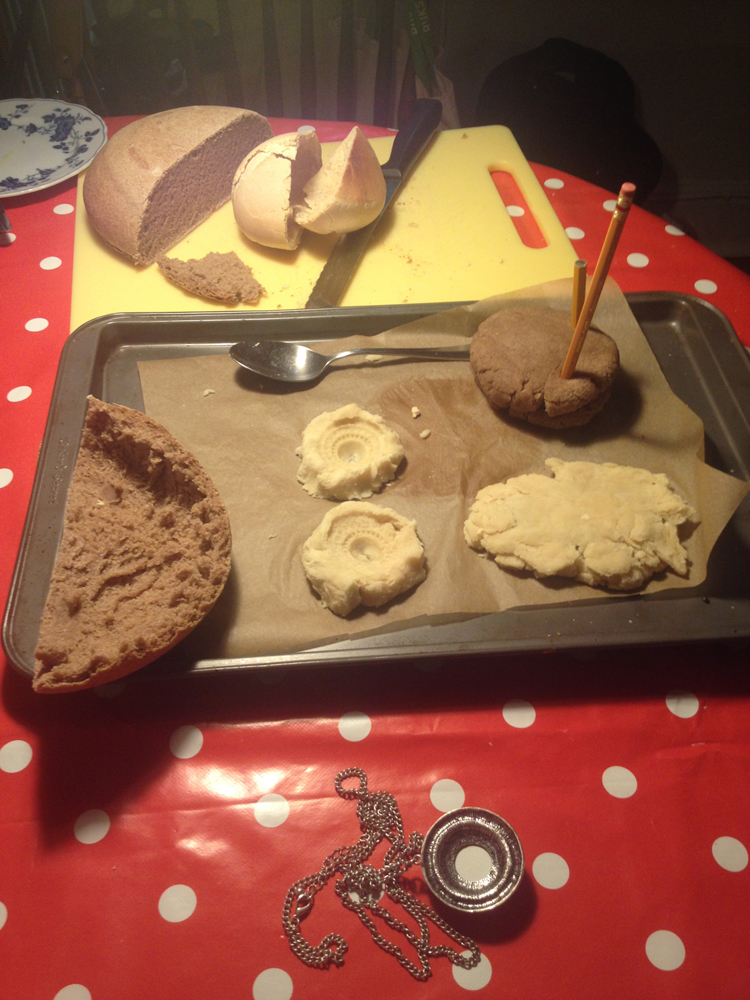
Pith of rye bread is more workable; removed both while hot using spoon


Used Buddha figurine for double-sided mold in rye bread; as registration between top and bottom molds, used pencils
Double-sided mold from manchet bread used for bottle opener, pressed into thin mold
Single-sided molds made of necklace medallion - pressed one quite hard, got much more faithful detail; other one, we tried stretching/“enlargening” (as manuscript suggests); dough began to break/crack
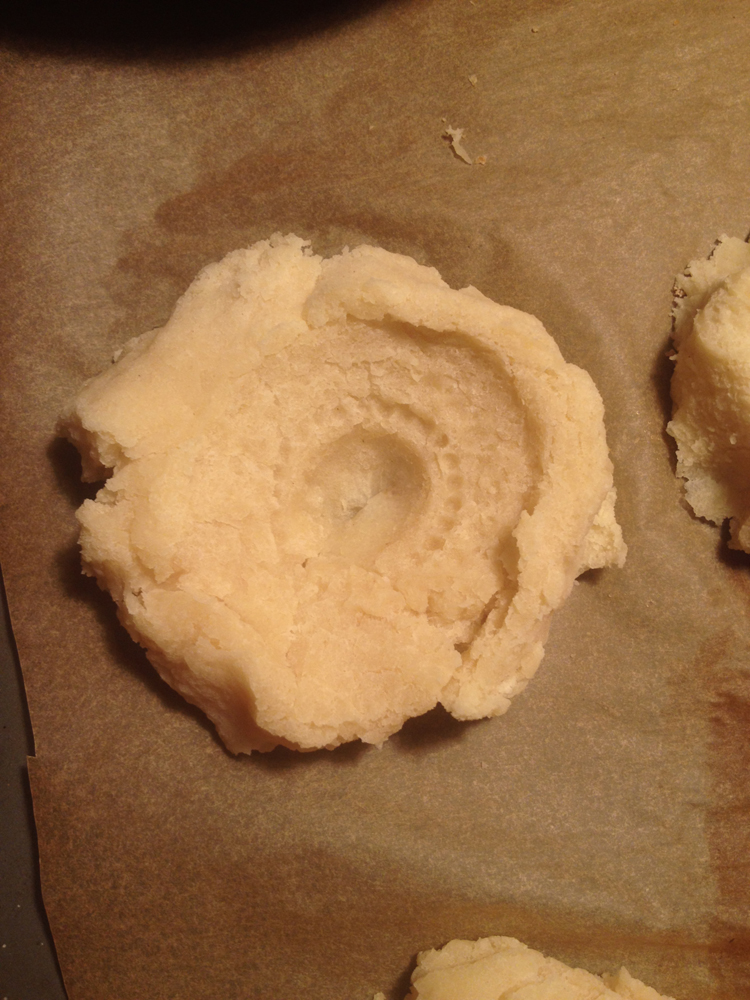
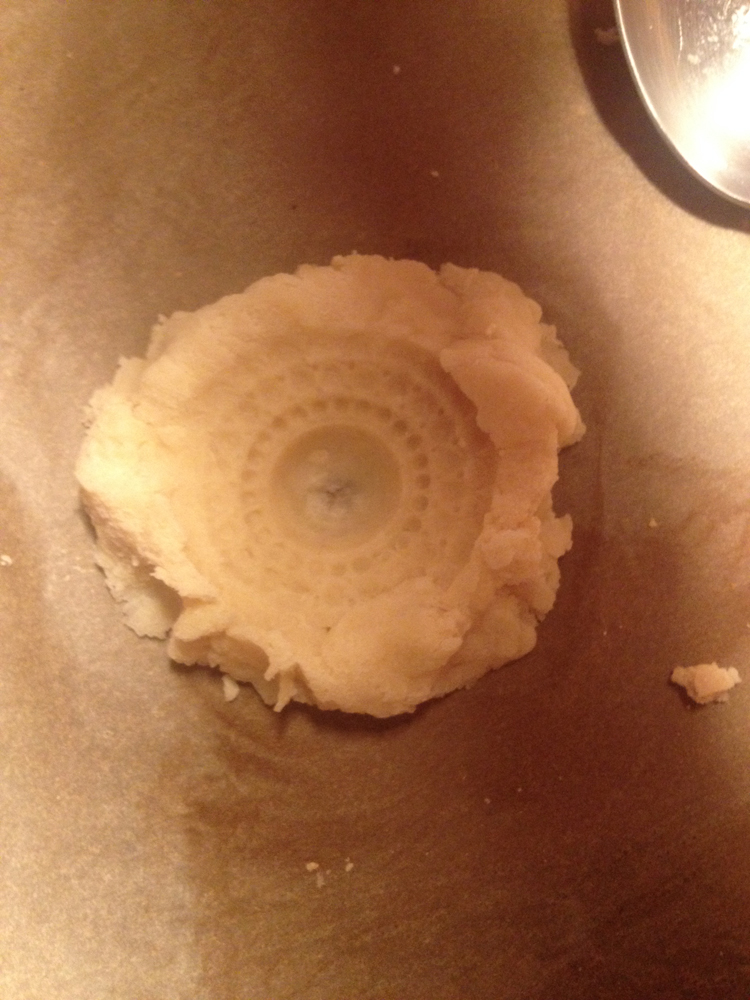
8:30 - Let dry
17 September 2014: Bread Recipes
NAME: Jonah Rowen & Rozemarijn LandsmanDATE AND TIME: 17 September 2014, 9:50 PM -
LOCATION: Brooklyn, NY
SUBJECT: Bread Recipes
Recipe for casting that includes flour. From Girolamo Ruscelli: the Second Part of the Secretes, p. 31
To make paste meete and good to make all manner of medalles, or pictues in moulde.
Take the bones of the legges of all sorts of beastes, and put them in a pot after thei be broken: and cover them well, and set them in a Bricke makers Furnace. And when thei bee cold againe, stampe them and braie (?) them verie small. This doen, take the floure or offall of iron that is beate[n?] from it when it is hote, and washe it well and cleane, and whe[n?] it is drie againe, stampe it and braie it very small upo[n?] a Marble stone, and wet it muche with strong Vineger, untill it bee like as it were an ointment, then put it in a pot well covered, and set it in the saied Furnace: and when it is cold, braie it againe upon the Marble, arrowsyng [?] & watryng it with a little Aqua vitae, and let it drie, and it is made. This doen, you shall take a dishe full of the laid floure or offall of iron, and two dishes full of the first pouder, and incorporate them well together, and when you will make the paste, for to make your medalles in the moulde, wette the saied pouder with Salte water, Vineger, Pisse, or Lye, and mingle and incorporate well all together, and then frame your medalles in the mould and let theim drie. This doen, caste in your metall, or whcat you will make, and your medals shalbe very faire and neate.
From http://www.godecookery.com/engrec/engrec65.html
TO MAKE FRENCH-BREAD
Take half a bushel of fine flower, ten eggs, yolks and white, one pound and an half of fresh butter, then put in as much of yest as into the ordinary manchet; temper it with new milk pretty hot, then let it lye half an hour to rise, then make it into loaves or rowles, and wash them over with an egge beaten with milk; let not your oven be too hot.
From http://www.midrealm.org/darkriver/section10.html#wheat
BASIC SPONGE DOUGH STARTER
1 level cup of bread flour
1 teaspoons sugar
1 pkg. dry yeast (about 2 ½ teaspoons)
¾ cup very warm water (120 to 130 degrees)
Mix all ingredients until well mixed. Place in a bowl, cover and allow it to work, 4 to 24 hours. I used this recipe because it did not take an incredibly long time to work and it gave as good a bread as the others. The original recipe had the starter working in the refrigerator, but we found when it was time to do the batches that the cold had killed a lot of the leavening agents, so making the starter up in the evening and making up the bread the next morning seemed to work well.
WHOLE WHEAT BREAD
1 1/2 cup sponge dough starter
1 level cup whole wheat flour
2 1/4 cup warm water (120 to 130 degrees)
5 3/4 level cup white flour: 5 1/4 cup at first, 1/2 cup later
1 tablespoon salt
Put the sponge dough starter in a bowl. Add warm water and salt, mix. Add whole wheat flour, then white, 1 cup at a time, first stirring in with a wooden spoon and then kneading it in. Cover with a towel, set aside. Let rise overnight (16-20 hours). Turn out on a floured board, shape into two or three round loaves, working in another 1/2 cup or so of flour. Let rise again in a warm place for an hour. Bake at 350° about 50 minutes. Makes 2 loaves, about 8" across. This is a very solid loaf of bread, you might want to use more gluten to make it rise better. This bread is tricky and needs to be worked with until the mix is right, so if your first batch is hard as a brick, add more white flour and gluten.
15 September 2014: Materials Used for Molding (from BnF Ms. Fr. 640)
Table of Contents
DATE AND TIME: 15 September 2014, 9:00 PM
LOCATION: Brooklyn, NY
SUBJECT: Materials used for molding
- 156v
- for casting flies, gold or silver (presumably because metals are soft and can pick up small details?)
- “Take the fattest flies, that go to pantries, which are not hairy, if at all possible. If they are hairy, oil lightly their fur and their unmanageable hairs with olive oil to make them lie flat. Take them also and use them as quickly as you can after they have died, because it you leave them to dry out, their legs will break when you want to stretch them. You must also, to get a better cast, arrange them on some kind of leaf or other similar thing. This will help to cast their little legs, that are so fragile that unaided, they will not cast easily. They can be arranged on a sage leaf or something similar. They cast well in gold or silver but one usually the legs and wings separately and then join them [to the main body.]”
- for casting flies, gold or silver (presumably because metals are soft and can pick up small details?)
- 116v
- sand casting, comparisons between casting lead, tin, softer metals (gold & silver) and copper:
- “Copper is harder to cast than tin. But when it is melted it runs better, even if alloyed with tin. Add a quarter copper to tin and mix it like copper. Calamine especially makes it run well.”
- directions are similar to the ones cited in Smith article – empirical measurements of temperature:
- “For lead and tin, let them cool down until you can dip your finger into the cast without burning yourself. The cast must be warm.”
- sand casting, comparisons between casting lead, tin, softer metals (gold & silver) and copper:
- 72v
- lead & tin, sand casting; alloying lead with tin (today would be called terne, used for coating steel); also uses empirical means of measuring amounts, temperatures and properties of metals
- “Lead,which is soft and heavy, wants to be cast much hotter than tin.”
- “Combine lead with tin so that the ingot that you are going to cast becomes smooth and lustrous and polished, and doesn’t make any “eyes” or bubbles except for a small point in the middle. And this sign will tell you that there is enough tin, otherwise the lead dominates too much.”
- lead & tin, sand casting; alloying lead with tin (today would be called terne, used for coating steel); also uses empirical means of measuring amounts, temperatures and properties of metals
- 115v
- directions for different alloys of tin and lead based on fineness of the object to be cast
- “If the herbageor floweryou want to cast is delicate and fine, tinmust exceed leadin your mixture; on the contrary, if it the flower or herbage is thick, you must add into your mixture more leadthan tin. For a fine thing,add one part of tinfor four parts of lead. Your mold must not be too hot, so you can hold it with your hand when you cast. Your alloyed tinmust be very hot and almost red fro casting, and that way it will enter all the small parts of the mold. Otherwise, your tin will cool down before reaching the thin parts of your herbage. Do not forget to mix a little bismuthin your mixture; that way, your tin will run better and be firmer.”
- what form would bismuth come in? Ore? How would different metals have been distinguished from one another?
- directions for different alloys of tin and lead based on fineness of the object to be cast
- 113v
- uses “eggs” as measuring device again, as in Dawson's “gumballs” recipe
- 139v-140r
- somewhat cryptic, but directions include casting using the same mold several times
- again makes reference to “esbaucher wax”
- “This waxis very soft & friendly & pliant, like copper. And if it is hard [this is] because of sulfur, which makes it melt more easily than than other [wax], so much that you can see evidence on a hot slate. And the sulfur that you put inside will be found the second time that you melt it, [as] cracks on the bottom. Having in this way passed through wax, it will not catch fire at all when put to a candle. And in this case, I believe that it will cast quite the medal [illegible]. One uses the same waxin place of varnishto [illegible].”
- 89v
- 126r
- molding using sugar as casting material – refers to “syrup,” but doesn't specify what would go into syrup besides water and sugar
- sugar described as “fatty” (as opposed to lean, as discussed in last class meeting)
- 130v
- 142v
- directions for molding very thin things: “Moulding grasshoppers and other things too thin”: includes paper as molding material; what kind of “paper” would this be?
- Several pages refer to “paper,” but this is the only one I can find that refers to casting using paper; seems to suggest mixing with butter – would this be like pressing/imprinting?
- “If you have a piece of written paper to mold, which is very thin, after you have made a first casting and it has taken, add a little thickness to the back of your paper with some melted butter, which is the most appropriate means there is, and [this method applies as well] for strengthening the wings of either a butterfly or grasshopper, or any delicate part of an animal for which you need to add some thickness.”
11 September 2014: Bread Molding Reconstruction - Recipe Research
In BnF Ms. Fr. 640, 140v, 156r140v: "To make a clean cast in sulfur, arrange the pith of some bread under the brazier, as you know how to do. Mold whatever you want & leave it to dry & you will have a very clean work." goes on to describe process in a bit more detail, but still not entirely clear. Is sulfur the material being used for casting? Will final result be cast in sulfur?
156r: "But to make this process go faster, if you are in a hurry, make the first impression and the first hollow out of the inside portion of the bread loaf, prepared as you know, and which will cast neatly. And inside this, throw in the melted wax which will give you a nice relief on which you can make your noyau." What is "noyau"? How would this cast be made inside of the bread without just getting the impression of the inside of the bread?
Why would anyone cast in bread? Wouldn't bread just burn in high temperatures?
Girolamo Ruscelli (Alessio Piemontese): directions for casting on pp. 31 & 50
Plat: "The Art of Molding and Casting" (59-68), wax used for casting
Theophilus - most molding described uses clay; some "white clay"; doesn't have notes on composition of clay
Cennini - bread as material for erasing/cleaning drawings done with lead (not casting) - like eraser shavings used in drafting - bread crumbs; for casting also recommends clay/plaster, made from melted sulfur (from salt mines) (p. 150)
Biringuccio - sand casting, clay & plaster - "If it is plaster of Paris, take care that it has been baked but a short time before, that it is well sifted and mixed with tepid or cold water, so that it is softened to be like a sauce.... They [moulds in full relief] can also be made of clay if you know how to arrange the moulds sos that you can make use of the halves of the cavities before fitting them together. They can be made also of plasters made of wax and white lead, or with tragacanth softened and mixed with burned plaster of Paris, white lead, almond charcoal, or brick dust mixed well with a little old flour in a bronze mortar" (330) - mentions flour, goes on to explain process of casting medallion portraits
Cellini - sand casting for seals (62), also clay, made from tufa stone; "this done, dry well that portion of the mould where the figures come (that is to say if you are using the Italian, not the Paris clay), then have ready a little dough [pasta di pane crudo] in the form of a cake..." (63); most of the rest of Cellini's directions for casting are for wax in clay - made from mud, sifted, dried, reinforced with "cloth frayings," then allowed to set for "four months or more" (113); reference to "lasagna," but the term is used figuratively - was spread over mold (88)